How to Create AI Characters | An AI Animation Tutorial
In this article and video tutorial, I'll show you how to create and animate an AI character in just 10 minutes.
Creating a character with these simple steps is a fantastic way to explore using AI tools, even if you’re not too familiar with them yet!
We’re excited to show you how to bring your own animated character to life in just 10 minutes. :)
Here’s what we will go over:
Using Midjourney text to image to build a character
Taking your image into Runway Act One
Recording your own video performance
Generating a character video
Upscaling your video to 4K inside Runway
How to Create AI Characters | An AI Animation Tutorial
Here is a video tutorial walking you through all the steps. Or check out each step below!
How to Create AI Characters | An AI Animation Tutorial
Using Runway, you can take any image directly into a generative video session and even add your own acting performance. We’ll walk you through everything!
Here we go.
1. Generate Images
To start, you’ll want to generate the image you want to animate.
Runway has released an image generator called Frames that works pretty well too, but for our version we will use Midjourney.
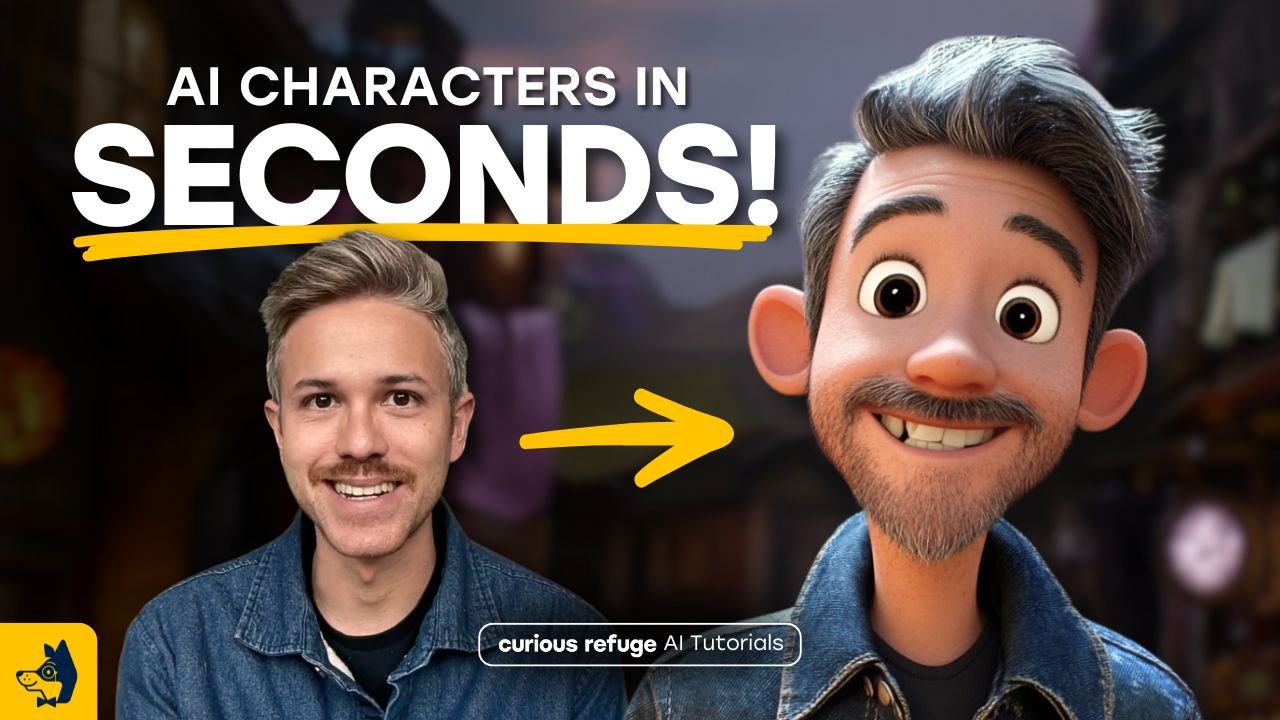
All you need to do is prompt the description of your character. For this example, we will use this prompt: “A 3D animated character of a man smiling, wearing a denim jacket in a village, looking at the camera, claymation”
If you want the character to resemble you, just upload a picture of yourself into Midjourney by dragging or uploading it.
Here’s a helpful recommendation that can achieve some great results:
Use --cw 0 at the end of your prompt. CW stands for “character weight” and adding zero at the end of it will basically let Midjourney change the character’s hair and clothing to match the scene.
This gives some flexibility and variety that will be fun to work with. :)

Once you’re happy with your image, download it and get ready to record your own acting performance.
2. Log into Runway
To begin, log into Runway by clicking Get Started.

3. Record Your Performance
Before you start recording, find a spot with good lighting and be sure to keep your hair out of your face. The better quality your driving video performance is, the better your animated result will be. :)
We recommend using a tripod and your phone if that’s possible, but a webcam should also work!
Here is our example video that we will use in the final generation.
4. Animate Your Image in Runway
Next, you’ll want to create a video of your character with motion. To do this, you can really use any video generator like Kling or Hailuo/Minimax.
But here’s how you can use Runway.
On the homepage, just click “generate video”.

Upload your image and enter a basic prompt of what the character is doing.
We will use the prompt, Tripod camera shot: a person looking at the camera, blinking, some hand gestures, laundry behind, light wind.
Keep in mind - duration is important! 10 second long clips will be easier to work with.
You need a generated video that is long enough to carry your driving performance. Getting the longest possible duration will give you flexibility!

We recommend generating 6-10 videos to choose from. Make sure the character is moving and blinking naturally, with as little warping as possible.
Your final video might look something like this. (And it won’t have any sound yet!)
As you can see, there are some imperfections in the video (what is he holding?) but we can edit around those!
5. Upscale In Runway
Once you’re happy with the video, click “actions” in the bottom left hand side and choose “Upscale 4K”.
This a pretty convenient feature, which is why we love Runway!

6. Use Runway Act One
Now we have all the elements we need to create the final video. It’s time to use Runway Act One to put everything together!
First, drag in the performance video you recorded.
Then, drag in your upscaled, animated clip.
The arrows below show you where to upload each one. Add the driving performance up top and the animated clip down below.
Hit generate and try it out several times to give yourself options to choose from!

7. Download Your Final Video!
That’s it! Now that you’re happy with the results, download the video and share it anywhere you’d like. :)
Learn the Best AI Animation Techniques for Filmmakers
If you want to learn specifically how to create stunning AI videos using the latest AI Animation techniques but don’t know where to start, I would love for you to join us in our next session of AI Animation. We always have a blast and would love for you to be a part.
We update the content every single week based on the latest tools. It is a wonderful way to enhance your AI skills, but no pressure! Feel free to check out the course here.