The Proven Way to Write an Article that People Will Actually Read
You have the power to write great blog articles. Here's a quick guide to creating great content that audiences will love.
Have you ever been discouraged by the performance of something you've created? Maybe you were super passionate to get it out there, but the audience simply didn't respond in the way you hoped.
That was me in the early days of my writing career. It seemed like no matter what I published, my content just didn't feel like it was gaining traction. I would spend hours crafting blog content and it would just fizzle. Maybe you feel the same way?
Needless to say, like any journey, writing will be a mix of successes and failures, but through it all, you will get better by creating more content.
Over the last few years I've had the pleasure of coaching writers to create great online content, resulting in millions of eager readers. Along the way, I've learned techniques and tricks that I am overjoyed to share with you today.
This article was crafted through experience. I've been in your shoes and I know what it takes to get your content seen around the world.
I hope you find this article to be a helpful resource on your writing journey. I've found it to be a great reminder.
Good Articles Start With Caring About the Audience
You MUST care about the audience and subject you are writing about to create a great blog post. This is non-negotiable.
Humans can smell BS from a mile away, and if you are faking your connection with the subject, your audience will know, stop reading, and go back to watching TikTok dances. Empathy rules anything else.
Empathy > Data
Empathy > SEO
Empathy > Keywords
Empathy > Content Calendars
Empathy > Marketing Funnels
Empathy > Grammar
This isn't to say that data, SEO, and calendars aren't important for blogging, they definitely are, but they don't come close to the importance of passion-filled content creation.
Care about your subject and great articles will be 10x easier to create, read, and share.
You Don't Have to Be a Professional Writer
You do not have to be a professional writer to create great blog posts. Sure, writing skills help, but I'll take a passionate writer over an experienced writer any day of the week.
I've seen this time and time again. The most successful articles and videos often come from folks who don't have a ton of experience. Rather, they are energized hobbyists of the subject.
After my first few years as a content creator, I was having a conversation with a co-worker (a video editor) and we had a great talk about the state of the modern VFX industry. It was that kind of talk that you just get louder and louder because you are so excited to talk about the subject.
In his excitement, my co-worker decided to write an article on the subject.
We published his article and within a few hours his post was so popular it crashed our site. It began trending on social media and our office was jumping with excitement.
He was not a college graduate, nor had he ever been paid to write. He just cared deeply about the subject.
This is the power of passion. That article idea didn't spring from a spreadsheet, chart, or keyword suggestion. Nobody was asking for it, but tens of thousands of people loved it.
The same will be true for your writing experience. Connect with your passion and you're heading down the road to a great article. People love to connect with the content of passionate folks.
More like Caring is Sharing… am I right?
You Must Clear Your Environment of Distractions
I think the thing that keeps most folks from crafting great blog posts isn't their passion, empathy, or commitment to the subject, it's distractions. Now, obviously you don't have control over every distraction in your life, but you do have more control than you realize.
As I write this sentence I am sitting in a noisy house. There are voices going on all around me, people are trying to ask me questions, business problems need to be fixed, and social media has buzzed a few dozen times... or at least that was the way it was until I optimized my environment for writing.
I control my environment for writing in a very specific way. Here are the steps:
Lock Yourself in a Room or Office
Put on Noise-Canceling Headphones (I use these)
Put Your Phone in Different Location on Silent
Make it impossible for people to contact you. That may seem harsh or even scary, but it is necessary.
We've been conditioned by app developers and news media sites to be fearful of this kind of radical focus, but the truth is there is no better way to write an article than isolating yourself.
Also, don't buy into the lie. It's easy to idealize the image of the writer at the coffee shop, sipping a latte while cranking away on their typewriter as patrons come and go. Sure you can write from a coffee shop, van, or crowded office, but it will take you at least twice as long, and your final article will not be as good. I promise.
Sharing Takes Courage
Don't let fear, insecurity, or doubt keep you from creating or sharing your content with the world. Your voice deserves to be heard, even if it needs refinement.
I have failed as a writer much more than I have succeeded.
The Path to Success
In fact, all of the following statements are true:
I’ve cried because I was so bad at writing.
I’ve felt like giving up dozens of times.
I’ve removed multiple articles from the internet because they were so poorly researched.
My bosses have refused to publish articles because they were so poorly written.
I’ve received everything from death threats to body shaming from total strangers.
I’ve received countless negative comments.
I’ve received countless positive comments.
I’ve had people reach out to inform me that I’ve changed their careers and lives.
I’ve been quickly promoted in organizations due to content successes and strategy.
My work is frequently cited in the research of other blog posts and videos.
I am absolutely in love with writing.
I can’t help but smile at the opportunity to get up and create every day.
Do I say that stuff to brag? Of course not! I’m a dingus. But a dingus that shows up at the keyboard every day will eventually find success.
How to Write a Great Blog Article
Now that we've laid the foundation for creating an awesome blog post, let's get to the real reason why you're reading this post. Here's how to write a great blog article.
Step 1: Create an Outline
A great article starts with a great outline. You will never be more like your reader than when you are outlining your article.
It is vital that you tap into your empathetic side and try to put yourself in your reader's shoes.
What questions will they have?
What information do they need to fully understand the topic?
What challenges did you overcome when learning about this subject for the first time?
This empathy-filled approach to blog writing is hard if you are unfamiliar with the subject, but easy if you are connected to the content you are writing.
This is why I always try to find writers and content creators who are experts or hobbyists on the subject, instead of professional content writers.
Experience with the topic trumps research any day of the week. Your experience with the subject matter is your secret weapon. It’s what makes the content you create on your specific subject better than the same article written by a content team inside a large organization.
Now back to the outline. A great outline will be a simple layout of your article's main features.
I often use Google Docs or Notion to create my article outlines. In fact, I created a system for quickly creating these outlines which can be found here.
From a technical standpoint you can follow this simple outline to write a blog post:
A Relatable Introduction
Define the Subject
Talk about the things you 'need-to-know'
Address Common Questions
Get to the Bulk of the Article
Share more resources
Add a Call-to-Action
Conclude with a relatable and heartfelt goodbye.
This early article outline should pull from your own knowledge and empathy for the subject. Here's an example from the top of my head:
Article Topic: How to Fry an Egg
Introduction
Fried Eggs vs Sunny-Side Up Eggs
The Best Eggs to Use
The Best Tools
Cast-Irons vs Non-Stick Pans
How to Fry an Egg
Step 1: Pre-Heat Your Oven to 375
Step 2: Crack Your Eggs Into a Bowl
Step 3: Add Butter to Medium-Low Heat Cast-Iron
Step 4: Add Eggs Once Butter Bubbles
Step 5: Add Eggs to Oven Once Whites Set
Step 6: Wait 4 Minutes
Step 7: Jiggle the Yokes
Step 8: Serve with Salt and Pepper
More Resources for Frying Eggs
Conclusion
Using just my love of frying eggs I was able to create an outline very quickly. I have faced egg problems in the kitchen, failed dozens of times, and learned from my mistakes. This experience has empowered me to create a great outline with very little effort. The same will be true for your subjects.
Note: Your section headings generated in your outline are so important, around 80% of your readers will read them before deciding to read the entire post.
If you're really confident about the subject, you can even start writing various sections of the article before starting the research process. It all just depends on your familiarity with the subject.
If you start writing and find that you need some research to back up your point, just put the letters "TK" next to a pretend fact. Once you move on to step 2 below, you can use the keyboard shortcut Command+F (Control+F on PC) to find any instances of "TK" in your piece. This will create a research shopping list.
Step 2: Do Research
Now that you've created your article outline, it's time to do some research on your subject. But how do you do in-depth research? Scientific Experiments? Paid Consultations? The Library of Congress? Nah...
Just Google it. 9 times out of 10, you will get more than enough information to create world-class content through online searches. Scientific... I know.
During your search, review other articles on the subject.
What format did they follow?
Did they include videos? charts? audio files?
How long is the typical post on this subject?
With initial scouting complete ask yourself a simple question:
How can I make the world's best article on this subject?
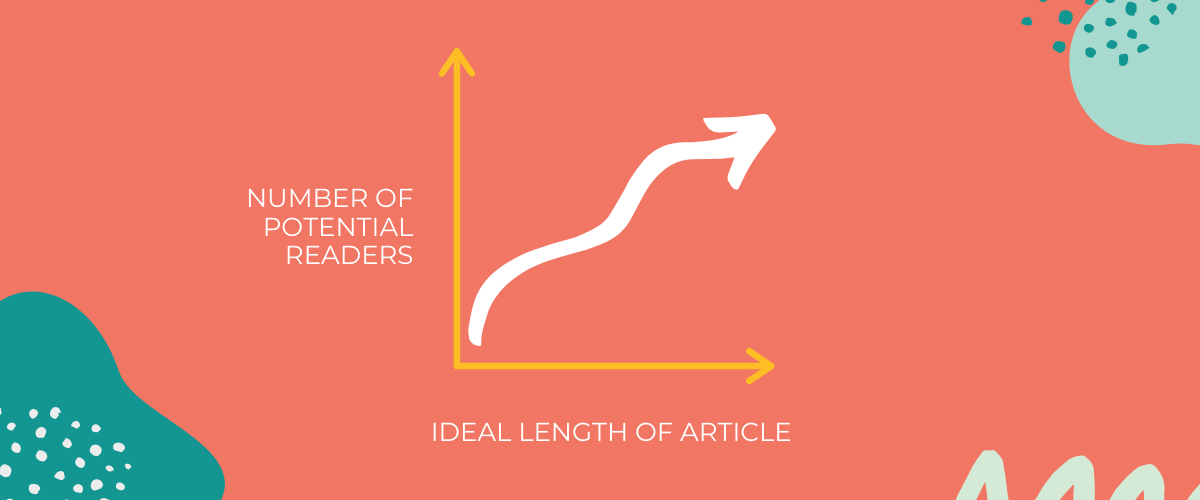
Every article you write should try to be the very best version of that thing online. Now 'The Best' is definitely relative. The best article on 'How to Fry an Egg' is going to require much more research and effort than an article titled 'The Best Way to Fry an Egg with a Lodge Cast Iron Skillet'. The more specific you get, the shorter the post will need to be.
That's why very specific questions are often answered with Quora answers instead of blog posts. It's not that a blog post couldn't beat the Quora answer, it's simply that nobody has tried.
For example, this article is very long and it includes a lot of images and media elements because 'How to Write a Blog Post' is a highly competitive topic.
In short, The more fish you're trying to catch, the wider your net needs to be.
Once you've determined how to make your blog post the best article possible, it's time to pull facts, videos, images, links, and anything else that would be helpful when writing the post. You can begin to add them to your outline as it makes sense.
Don't be afraid to pull too much research, you can always reduce it during the writing process.
And ALWAYS link back to the site where you found the information. It is ethically the right thing to do, and it also helps with SEO (more on that later).
Step 3: Refine Your Outline
With your research now pulled, it's time to refine the outline. Based on your research you might realize that your article needs a slight change in structure.
Remain flexible with your outline. Allow yourself to be adapt if the research contradicts your presumptions.
I always adjust my initial outline based on my research, and I will scrap my original outline completely about 10% of the time.
Also, don't worry about pulling too much research. As they say in Texas, there's no such critter.
Step 4: Write the Body Section
The best way to write your article is to start in the middle. Don't try to write your introduction first. Why? Well, during the writing process you may find that your article begins to go a different direction than what you initially planned. If you've already written the intro, you will have to re-write it again once the content begins to change.
The body section should include the meat and bones of your piece. This is where you will define your subject, address common questions, and include any step-by-step instructions.
Don't worry if the wording is perfect. Just get it out on the page.
Step 5: Write the Call-to-Action, Conclusion, and Introduction
Once you've written the bulk of the post, it's time to write the Intro, Call-to-Action, and Conclusion. I have found it most helpful to write the Call-to-Action and Conclusion first, and then move on to the introduction.
The Call to Action
The Call to Action should include links to outside resources on the subject and a primary call-to-action as it relates to the topic of the blog. Most of the time the call to action will be to download a freebie like the Free "Launch a Blog" checklist here on Curious Refuge. Other times it will be to check out your products or even a similar post on your site.
Conclusion
The conclusion should reinforce your identity. Be sure to make it relatable. I like to include jokes in my conclusions, but for your blog, it might be words of wisdom or parting advice.
Introduction
Your intro is not the most important part of your article (your title is), but the intro is definitely up there. A good introduction will establish your identity, define the problem, and place the reader in the driver's seat. Sounds hard right? Well, it doesn't have to be.
One of the easiest ways that I've found to write intros is to simply start off with a question that will resonate with a problem your reader has likely had. For example:
Have you ever been served an egg that was undercooked?
Create an attention-grabbing sentence that will surely keep your reader engaged. Once you hook them in, define what the problem is, talk about why you are passionate about the subject, and introduce the content inside the article. It really doesn't have to be hard, and it certainly doesn't have to be more than a couple of paragraphs long.
Step 6: Pull the Artwork
Once the text of your article has been written, it's time for you to pull the artwork for your article. In general, it's best to use artwork that is engaging. Don't use artwork that clearly looks like stock imagery.
Unsplash and Pexels are the best free image resources that I know about. Their photos tend to look more 'lifestyle' compared to stock images found on other sites. Use photos that feature people in your audience's demographic. If you have a blog for soccer moms, include soccer moms in the photos.
In addition to images, you may want to add in charts, graphs, or quotes inside your article. To create artwork for your article, I recommend checking out Canva. Canva is an online design tool that allows you to quickly create professional graphics. I have templates set up on Canva so I can quickly edit artwork for my posts.
You'll also want to pull a piece of artwork for the thumbnail image. Canva is the best tool to use as well.
Step 7: Edit the Post
Now it's time to edit the post. Again, you don't have to be a professional editor to do a decent job. Just follow these two steps:
Read Your Article Slowly
Whisper the Words Out Loud
Using this technique you'll find around 90% of the grammar errors in your post. While grammar mistakes are not ideal, they really aren't as important as crafting compelling content.
I've seen multi-million dollar brands with blatant grammar errors on their home page for years. The same is likely going to be true for you. Like death and taxes, grammar mistakes are inevitable, don't let them keep you from publishing your content.
You can also hire a professional editor to edit your blog posts for around $50 a post. But I don't recommend this strategy. Edit your own posts and your writing will improve faster.
Step 8: Optimize for SEO
SEO (Search Engine Optimization) is one of those things that can make people nervous. Just the name sounds like an evil organization that is watching your every move.
SEO is simply optimizing your blog posts to be listed in online search listings. This is often done through picking a simple 'keyword' for your post.
For example, if you write a post titled 'My 7 Favorite Ways to Build Strong Abs' your keyword would be 'Build Strong Abs'. You would want to include the specific sequence of words 'build strong abs' throughout your article.
Let's keep this example going. If you had this sentence in your article:
For years I tried to make my core rock-solid, then I figured out a few techniques for developing my body.
You could add in your keyword and convert it to this:
For years I tried to build strong abs, then I figured out a few techniques for developing my core.
See what we did there? We replaced 'make my core rock-solid' with 'build strong abs'. It is a simple change, but it can dramatically improve the performance of your articles in Google.
Any chance you get, try to include your keyword and synonyms for your keyword throughout your article.
However, don't get weird with it. If you can't naturally place in the keyword, just skip it or rewrite the sentence.
You can also include keywords in the names of the images you upload and the 'alt text', which is just a simple image description that most modern blogs support.
Pro Tip: Try to make your image sizes as small as possible. Graphics should be PNGs and pictures should be JPEGs.
SEO is actually much easier than you think. I think a lot of times people put too much emphasis on SEO and lose sight of the fact that articles are written for humans, not robots. SEO is the cherry on top of the content sundae, not the other way around.
It was through great content paired with SEO that I've been able to outrank the likes of TED, Adobe, and Vimeo. The same will be true for you.
If you want to learn more about SEO I recommend checking out this checklist.
Step 9: Edit for Personality
After you've edited your post for SEO it's time to ensure that the tone and personality is right. Take your time to scan and review the content. Does it play with your emotions? What do you feel? Joy? Laughter? Heartbreak? Sadness? Anger?
If you don't feel anything when reading your article, neither will your audience. And an audience that doesn't feel, is an audience that will not stick around.
Take this time to add in jokes, observations, personal stories, or anything else that could help humanize your piece.
Step 10: Create a Great Title
This last step is the most important, create a great title. There is no one formula for crafting a great title, but here is a quick checklist that I like to use.
Great Title Checklist:
Use Power Words in the Title (List of Power Words)
Use Odd Numbers When Creating Lists
Include a Goal
Use 8 - 14 Words
The title of this article is "The Proven Way to Write an Article that People Will Actually Read".
In this article I included the power world 'Proven', the keyword 'Write an Article', and the goal 'Article that People will Actually Read'.
Alternatively I could have decided to use any of the following titles:
11 Essential Steps for Writing Amazing Blog Posts
We Reveal Our 11 Blog Writing Secrets
The Definitive Guide to Writing Great Blog Posts
You should write out a few titles before deciding on the best one for you article. You'll get better at this with time.
Step 11: Publish
The last step is sometimes the hardest to do. Publish your blog post.
This step takes courage.
Don't let fear, insecurity, or doubt keep you from sharing your content with the world. You voice deserves to be heard, even if it needs refinement.
Here's a checklist of how I share things out when I publish them:
Share Link to Post on Facebook
Share Link to Post on Twitter
Share Link to Post on LinkedIn
Share Image Related to the Post on Instagram
Share Story on Facebook and Instagram About the Post
Post a Link to the Article in the Comments of Similar Articles
Send the Article Out in Your Weekly Newsletter
Email All of the Companies You Mentioned in the Article
Optional: Promote the post with paid advertising on social
By following this simply strategy you will quickly get a ton of people to your post which will help it not only be seen, but also rank in search engines.
My Favorite Blogging Resources
Here are a few blogging resources that changed my writing career forever:
Everybody Writes by Ann Handley - Hands down the best book I've ever read on writing.
Niel Patel's YouTube Channel - Fantastic practical marketing videos and advice.
Best Blogging Resources - This is a great list of the best blogging resources from around the web.
We also routinely create content about growing a blog here on Curious Refuge.
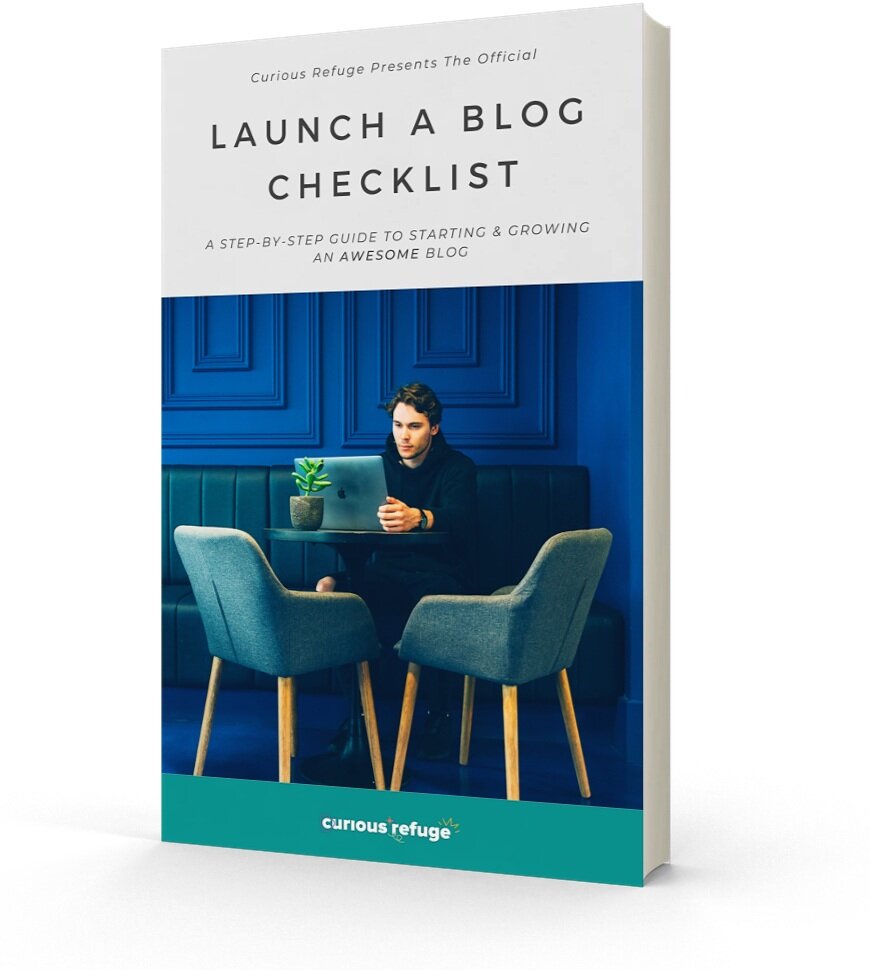
Download the 'Launch a Blog' Checklist
Are you trying to launch your blog from scratch? We've created a free guide to help you on your blogging journey. All you have to do is create a free account here at Curious Refuge and your blogging checklist will be sent to your inbox.
The 330% Challenge
It might take a while for you to improve your writing skills, but even marginal improvements can have dramatic results. This math problem changes everything:
1.05^30 = 4.32
In less nerdy talk, if you were to simply make your articles 5% better each day, you'd see a 330% increase in quality within just a 30 days of content publishing.
I challenge you to take the 30-day challenge. Who knows? You just might find your next great calling.
Your voice deserves to be heard. I look forward to reading your articles.


